
Table of Contents
The Exciting World of Gender Reveal Cakes
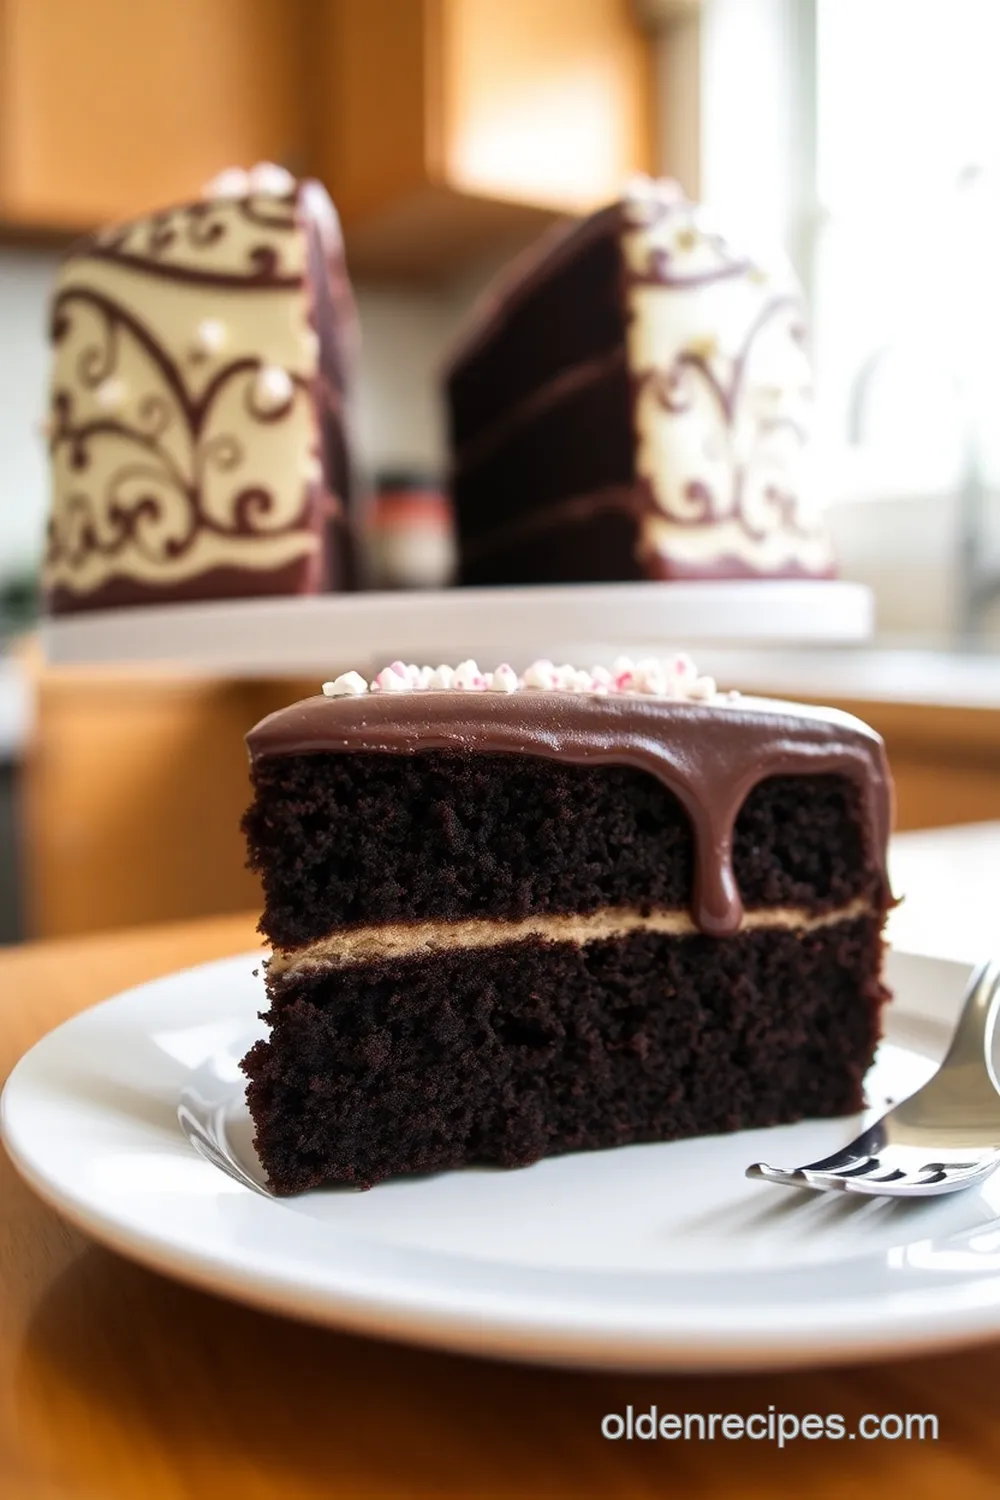
Oh my gosh! have you ever been at a party where everyone’s eyes are fixated on one colorful cake? it’s like the cake has its own spotlight.
A few years back, i attended a gender reveal party for my best friend, and the moment that cake was cut—let me tell you, the air was electric! the gender reveal cake unveiled the surprise: pink filling! the joy was infectious.
I remember everyone cheering and hugging. moments like these remind us how food can bring people together and mark special occasions with flavor and fun.
What’s the Deal with Gender Reveal Cakes?
So, here’s the scoop: gender reveal cakes have become all the rage in the past decade. they’re like the new stars of baby showers.
The cake is designed so that when you cut into it, either pink or blue filling bursts out, announcing the baby’s gender in a delightful surprise.
This tradition hasn’t just popped up overnight; its roots can be traced back to the early 2000s. it’s like blending a birthday celebration with a baby shower into one festive, colorful moment!
Now, if you’ve got a bit of baking experience, don’t sweat it. making a diy gender reveal cake is totally doable, albeit with a few steps.
All you’ll need is about two hours—30 min for prep, about 25-30 min for baking, and the rest is just letting those layers cool.
Trust me, it’s worth every second of waiting! expect to whip up a cake that serves about 12 people, perfect for gathering family and friends to celebrate together.
And don’t worry about breaking the bank; the ingredients are quite affordable, especially when you consider the unique benefits of baking at home.
Why You’ll Love This Cake
Alright, let’s talk benefits! first off, you’ll be serving a cake that’s not just pretty but also super moist and delicious.
The vanilla cake recipe at the base of this masterpiece is a family favorite! plus, it offers a way to pack in some fun and creativity.
The moments when everyone gathers around are priceless—everyone’s waiting with bated breath as they slice through the layers of cake, each one revealing a bright secret inside.
Health-wise, if you substitute with gluten-free options or cut back on sugar, you can make a delicious treat that fits various dietary needs.
It’s perfect for those special occasion desserts where you want everyone to indulge without regret. whether it’s for a baby shower or a gender reveal party , this cake is sure to impress.
Just picture it—layers of fluffy cake dripping with rich buttercream frosting! did i mention the fun filling? you can get as creative as you want with fillings, including some unique cake fillings like fruity jams or chocolate ganache.
Perfect Moments for a Gender Reveal Cake
So when should you bust this bad boy out? Well, aside from the obvious baby gender announcement, consider it for birthdays or anniversaries! Seriously, who wouldn’t love an unexpected surprise when cutting into a cake that might reveal pink or blue? Plus, it’s a hit with kids—what’s not to love about a gorgeous dessert filled with excitement?
Before we dive right into the ingredients, know this: with the right cake decoration for gender reveal , you can transform an ordinary cake into something truly festive.
Simple touches, like colorful sprinkles or themed decorations inspired by your baby shower cupcakes, make all the difference! and with a little bit of baking knowledge and some handy baking tools for cakes , you’ll be on your way to creating a stunning centerpiece for the celebration.
Ready to get started? Here’s a look at what you’ll need to make this Vanilla Surprise Gender Reveal Cake a jaw-dropping showstopper.
Essential Ingredients Guide for the Perfect Celebration Cake

Planning a gender reveal cake or any celebratory dessert? you want it to be memorable, flavorful, and, of course, stunning! let’s dig into the essentials that’ll turn your baking into a delightful adventure, packed with fun and excitement.
You’ll be the talk of the party with these pointers up your sleeve!
Premium Core Components
To whip up your cake, start with quality ingredients . Nothing beats fresh!
- Detailed Measurements: For the cake, you’ll need 2 ¾ cups (345g) all-purpose flour and 2 ½ tsp baking powder. Sounds simple, right? But precision matters!
- Quality Indicators: Look for smooth butter—don’t skimp on that! When you squeeze your butter, it should be soft but not melting. Always check dates on eggs too; fresh is best!
- Storage guidelines: flour and sugar? keep them in a cool, dry place. your butter? stay fresh with air-tight containers. and did you know? an opened jar of baking powder loses efficacy after 6 months.
- Freshness tips: when selecting produce or dairy, trust your nose. if it smells sour, toss it out! for eggs, a simple water test can reveal freshness; if they sink, they’re good to go.
Signature Seasoning Blend
Don’t forget about the fun flavors that will dress up your cake!
- Essential Spice Combinations: For a classic vanilla cake, nutmeg and cinnamon can add depth. A dash goes a long way!
- Herb Selections: Rosemary pairs surprisingly well with sweets. Try mixing it into your frosting—or just stick to the usual suspects like vanilla and almond—always crowd-pleasers.
- Flavor Enhancers: A pinch of salt in your cake batter balances sweetness, allowing your flavors to pop!
- Regional Variations: If you wanna get extra creative, think about using chai spices for an exotic twist—perfect as part of the surprise cake recipes you’ll share at the party!
Smart Substitutions
Creativity in the kitchen is key—especially when the pressure’s on!
- Common Alternatives: If you run out of sugar, you can use maple syrup or honey. Just adjust the liquid in your batter.
- Dietary Modifications: Going vegan? Swap butter with coconut oil and replace eggs with apple sauce—your cake’ll still be delicious!
- Emergency Replacements: Out of flour? Try ground oats! Just blend oats until fine; they work wonders.
- Seasonal Options: Fresh fruit in summer can brighten up a vanilla cake or even enhance a DIY gender reveal cake with fruity fillings.
Kitchen Equipment Essentials
Next, let’s talk tools!
- Must-Have Tools: Invest in good quality mixing bowls, measuring cups, and a sturdy whisk. You can make so much with just those basics!
- Alternative Equipment Options: No mixer? No problem. A good ol’ spoon and some elbow grease do the trick—just be prepared to mix a little longer.
- Preparation Tips: Prepping your pans is crucial—brush with butter and add parchment paper to avoid sticking!
- Storage Solutions: Keep your tools organized with a simple drawer or container. You’ll save time and your sanity when baking day comes!
With all these tips ready to roll, you’re totally equipped to make that gender reveal cake the star of your party! the layers of cake will reveal a heartwarming surprise, making the gathering a celebratory highlight.
How cool is that?
Catch me in the next section where we’ll dive into instructions for creating that stunning dessert, filled with joy, flavor, and a touch of magic!
The Art of Professional Cooking: Prepping for Success
Cooking like a pro doesn’t mean you need to be stuck in a restaurant kitchen. it’s all about the method , and just a little planning can take your cooking game from home-cook to chef.
Let’s dive into some essential preparation steps, step-by-step processes, expert techniques, and strategies to make your next kitchen adventure a total win, especially if you’re whipping up that vanilla surprise gender reveal cake for a baby shower or party!
Essential Preparation Steps
Ever heard of mise en place ? it’s a fancy french term that just means “everything in its place.” before you even turn on the oven, gather all your ingredients.
Chop, measure, and organize everything. it makes the whole cooking experience smooth and stress-free. no one wants to be scrambling to find a missing ingredient in the middle of baking, especially when the whole family is waiting for that gender reveal!
Next up is time management . when baking a cake, you’ve got to multitask. while your cake is in the oven, use that time to clean up or prep your frosting.
It’s all about keeping that kitchen organized and efficient. you’ll love how much smoother things go when you’re not running around like a headless chicken.
And let’s not forget safety! Always wash your hands, especially after handling raw ingredients. Keep a clean workspace to avoid cross-contamination. Trust me, no one wants food poisoning—yikes!
Step-by-Step Process
Ready to bake? Here’s how to tackle that stunning gender reveal cake step-by-step:
- Preheat Your Oven to ****350° F ( 175° C) . Get those kitchen vibes going!
- Grease and Line Your Cake Pans to ensure your cake comes out smoothly.
- Whisk Together Your Dry Ingredients : In a bowl, mix 2 ¾ cups of flour, 2 ½ tsp baking powder, ½ tsp baking soda, and 1 tsp salt .
- Cream Your Butter and Sugar for about 3- 5 * minutes * until light and fluffy. You want it airy!
- Add Eggs and Vanilla , beating them in one at a time, mixing in 2 tsp vanilla extract .
- Combine Everything : Gradually integrate your dry mix and 1 cup whole milk until it’s all smooth.
- Bake for 25- 30 * minutes *, checking with a toothpick. When it comes out clean, you’re golden!
- Cool for *10 minutes in the pans * before transferring to a wire rack. Patience pays off!
As you’re baking, keep an eye on the temperature and timing . It’s like your cake’s diary—keep it right, and it’ll tell you when it’s done.
Expert Techniques
So, you’ve baked your cake. what’s next? let’s talk about decorating techniques . for that frosting, you’re gonna need some serious buttercream skills.
Whip 1 ½ cups of softened butter and gradually add 4 cups powdered sugar until fluffy. need it smoother? add that 2-4 tbsp of milk .
When it comes to decorating, don’t shy away from icing that looks like you spent the whole day in a bakery! the buttercream frosting techniques can transform an average cake into a centerpiece.
And those colorful cake decorations ? make sure they align with your theme—those pinks and blues are a must for a gender reveal!
Success Strategies
We’ve all been there—burning a cake or forgetting an ingredient right before the big day. Here’s the lowdown on avoiding common pitfalls:
- Make-Ahead Magic : Bake your cakes the day before. Chill them overnight, and you’ll save so much stress on the actual day.
- Level Your Cakes to ensure a professional finish. Trust me, a serrated knife can be your best friend here.
- Check the Filling : When you prepare that color-infused liquid, make sure it’s cooled down before pouring it in. You don’t want sad layers melting down your masterpiece.
Oh, and don’t forget about your testing techniques ! Always use a toothpick to be sure of doneness. It’s the kind of hack that’ll make you the star of the kitchen.
Additional Information
Cooking is about practice. each time you bake that vanilla surprise gender reveal cake , you’re honing your skills. maybe try different flavors or cake fillings next time! creativity makes every gathering unique, whether it’s a baby shower or a casual family celebration.
Remember, the joy of baking is not just in the result, but in the love and effort you put into each step.
Happy baking!
Pro Tips & Secrets
Making a vanilla surprise gender reveal cake can feel like a big task, but trust me, it’s totally doable—especially with a few insider tips! first, don’t rush the cooling process.
Once your cakes come out of the oven, let them chill completely. if you skip this part, you’ll end up with a messy fridge scenario, and nobody wants that on a celebratory day!
When it comes to flavor enhancement, consider adding a teaspoon of almond extract to your batter for that extra oomph.
It’s like a secret handshake between flavors. and if you’re looking for a time-saver, make your cake layers ahead of time! they can sit wrapped in plastic wrap for a day or even freeze them.
Just thaw and decorate when you’re ready—easy-peasy!
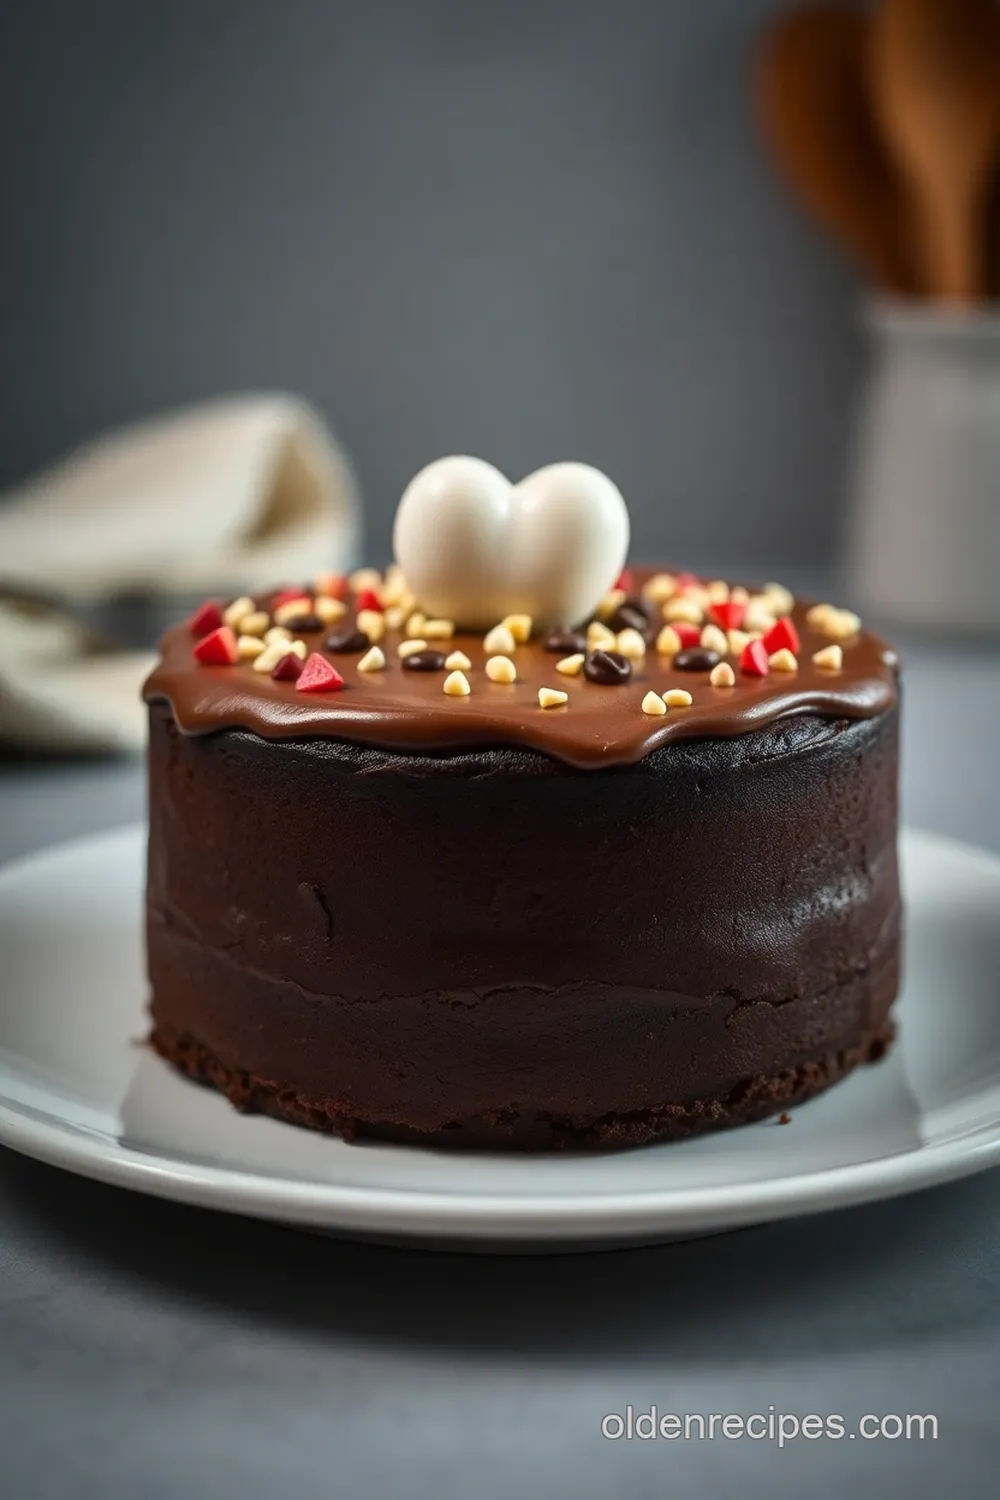
Perfect Presentation
Alright, let’s chat about plating techniques because a cute cake deserves spotlight treatment! to start, use a cake stand that really makes that cake pop.
Once your cake is frosted, don’t forget about the fun edible decorations. think colorful sprinkles, edible glitter, or cute little baby-themed toppers.
They add an enchanting vibe to your cake.
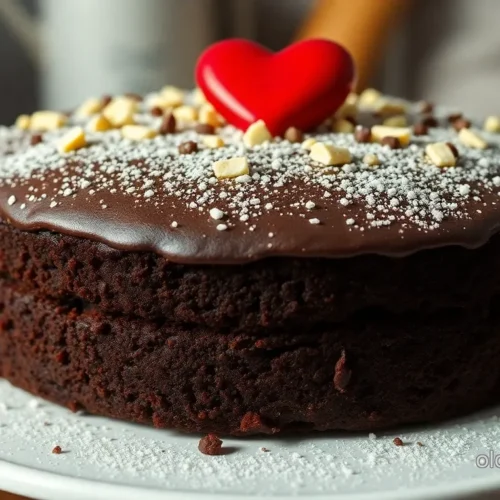
For garnishing, fresh fruits like berries can contrast beautifully with either the pink or blue frosting, making the whole dessert visually appealing.
If you want to step it up, use an offset spatula to create swirls in your buttercream frosting. trust me, fancy touches go a long way!
Storage & Make-Ahead
Got leftovers? no sweat! here’s how to keep your cake fresh. wrap each slice in plastic wrap or keep it in an airtight container.
That way, you can enjoy it for up to three days without it drying out. if you baked extra layers, those can be frozen, too! just remember to wrap them tightly.
Now, for reheating, it’s simple: pop a slice in the microwave for a quick 10-15 seconds. It warms up that tasty frosting and gives a fresh-out-of-the-oven vibe!
Creative Variations
Let’s get creative! swap out that vanilla cake with a chocolate or lemon twist . everyone loves a good flavor adaptation.
If you’re hosting a summer party, how about a tropical version? add some coconut essence to the batter. and if you’re eyeing those gluten-free cake options , just switch to gluten-free flour, and you’re golden!
When planning your baby gender reveal party , make sure to think about the season. For spring, mix in some lemon zest or zest from an orange; it’s like a slice of sunshine!
Complete Nutrition Guide
Wanna keep track of what’s in your cake? here’s a quick peek: you’re looking at about 450 calories per slice, with 4g of protein and 22g of fat .
Yes, it’s a sweet treat, but hey, it’s a special occasion dessert ! just keep portions in check.
Remember, if you’re making it for a crowd, consider serving with fresh fruit on the side. that way, you can balance the sweetness with some natural goodness.
Plus, your guests will appreciate the extra flair!
Expert FAQ Solutions
You may have questions, and that’s cool! one common query is how to avoid the dreaded sinking cake . this usually happens if the batter is over-mixed or if the oven temperature isn’t right.
Always preheat, and trust that toothpick to tell you when it’s just right.
If you end up with a dry cake (yikes!), try adjusting your baking time next time. pay attention to cake testing techniques —testing with a toothpick should leave you with a few moist crumbs, not a clean pick.
Encouraging Conclusion
So there you have it, friends! making a gender reveal cake can be fun and rewarding. it’s all about the layers of joy—both in the dessert and in the experience.
Don’t let kitchen nerves hold you back; everyone loves a good home-baked cake, regardless of a few minor hiccups along the way.
Look into into creative gender reveal ideas and make that cake your own. celebrate with laughter, joy, and, of course, lots of delicious sweet treats ! you’ve got this!
Vanilla Surprise Gender Reveal Cake
Ingredients
- 2 ¾ cups 345g all-purpose flour
- 2 ½ tsp baking powder
- ½ tsp baking soda
- 1 tsp salt
- 1 cup 226g unsalted butter, softened
- 2 cups 400g granulated sugar
- 4 large eggs
- 2 tsp vanilla extract
- 1 cup 240ml whole milk
- 1 cup 240ml water (to be colored with food dye – pink or blue)
- 1 ½ cups 340g unsalted butter, softened (for frosting)
- 4 cups 480g powdered sugar
- 2 tsp vanilla extract for frosting
- 2-4 tbsp milk optional, to adjust frosting consistency
- Food coloring pink or blue for decoration
Instructions
- Preheat the oven to 350°F (175°C) and grease the cake pans. Line the bottoms with parchment paper
- In a bowl, whisk together flour, baking powder, baking soda, and salt
- In a large mixing bowl, cream the butter and granulated sugar until light and fluffy
- Beat in the eggs one at a time, followed by the vanilla extract
- Gradually add the dry mixture to the wet, alternating with the milk until fully combined
- Pour the batter evenly into the prepared pans and bake for 25-30 minutes or until a toothpick comes out clean
- Allow to cool in the pans for 10 minutes, then transfer to wire racks to cool completely
- Color the water with desired food dye in a separate container
- Level the cooled cakes, place the first layer on a serving plate, and fill with the colored water. Add remaining cake layers
- Frost the exterior with softened buttercream and decorate as desired
- Optionally, add edible decorations for a festive look.