Table of Contents
A Delicious Introduction to the Gipfeli Recipe
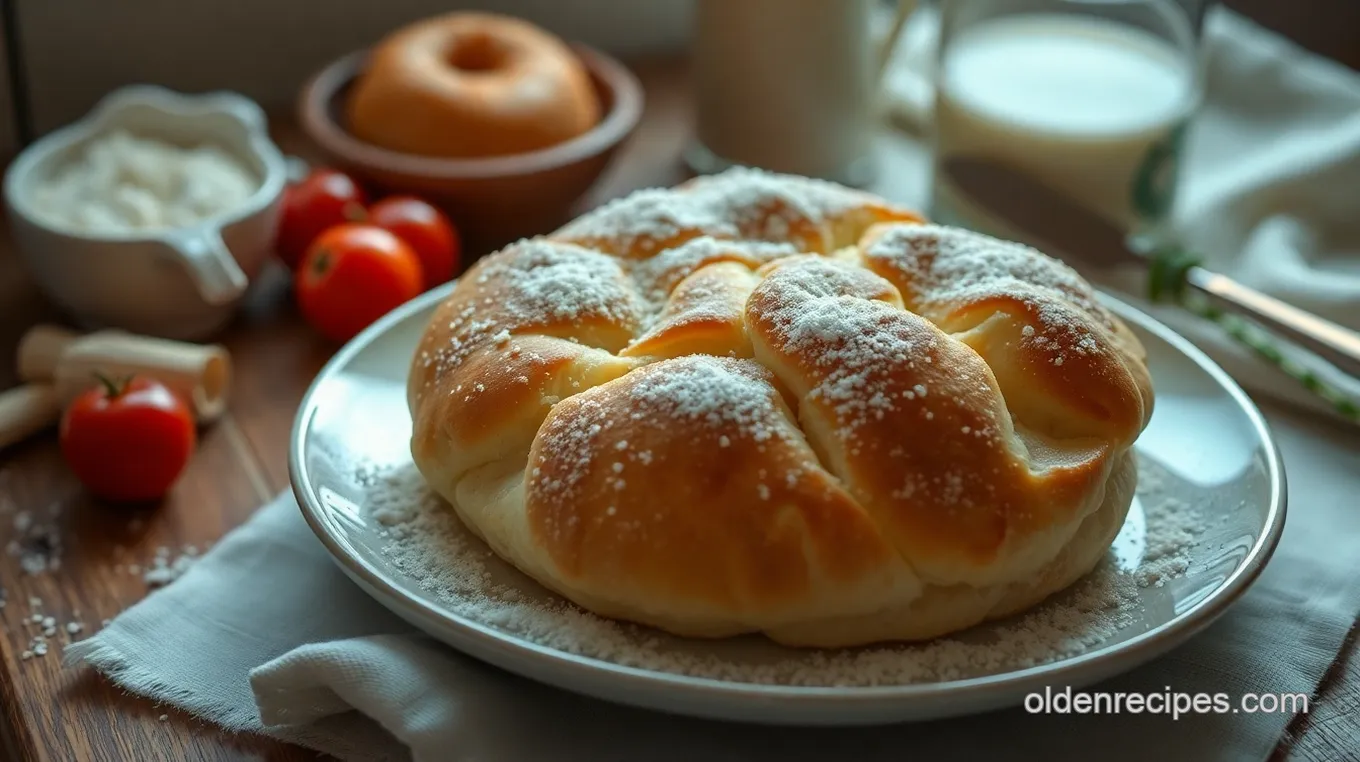
Let me start off with a question. have you ever experienced that irresistible smell of fresh pastries wafting through the air, pulling you into a quaint bakery? oh my gosh, that’s like my ultimate happy place! one sunny saturday morning, i stumbled upon a cute little café in the mountains, where i tasted my first gipfeli .
I swear, it was heavenly! with its flaky layers and buttery goodness, it was love at first bite. ever since, i’ve been on a mission to recreate that moment at home.
If you’ve been itching to try your hand at making swiss pastry recipes , then you’re in for a treat.
What’s All the Hype About Gipfeli?
The gipfeli is a classic swiss pastry with a history that resonates deeply within swiss baking traditions. thought to have evolved from the austrian kipferl , it has adapted over the years, yet it remains a symbol of swiss breakfast culture.
Nowadays, these flaky delights can often be found in bakeries across not just switzerland, but europe! not only are they popular for their taste, but they also appeal to folks with a penchant for cozy european breakfast ideas —who doesn’t love a warm pastry with their morning coffee?
Now, if you’re wondering about the time commitment, here’s the scoop. the prep isn’t too demanding—it takes about *20 minutes * of hands-on work, followed by a little chill time of one hour .
Add another *20 minutes * to bake, and voilà! you’ll have around 12 gipfeli ready to impress. and for the cost, it’s quite wallet-friendly, which is fantastic for something that feels so gourmet.
Why You’ll Love Making This Pastry
So, what makes the gipfeli recipe worth your time? first off, let’s talk health. these pastries can be a source of comfort without going too crazy.
They can be made with whole ingredients, and you can control how buttery or sweet you want them. plus, the delightful layers are not just pretty—they’ve got that satisfying crisp you can’t resist.
You can serve them at breakfast gatherings, holiday brunches, or just whenever you’re craving something special.
One key advantage of making gipfeli at home is the chance to experiment! mood for something sweet? slip in some chocolate chips or jam.
Want a savory twist? how about fresh herbs or cheese? let’s be honest, you don’t get those options buying a pre-made pastry at the store.
Also, the technique of lamination—the fancy term for layering dough—can really elevate your baking skills. once you master those layered dough techniques , the world of flaky dough opens up! and if you’ve dabbled in other croissant recipes , you might notice that mastering gipfeli is a tad easier.
Honestly, who wouldn’t want more light and buttery pastries in their life?
Let’s Get Cooking
So with all that said, are you ready to learn how to make your own homemade gipfeli ? get your apron on, and let’s dive into the ingredient list! this is where the real magic happens, turning flour, butter, and a few other basics into a dazzling breakfast treat.
Stick around, and i’ll share all the nitty-gritty details. trust me, your mornings are about to get a whole lot sweeter!
The Essential Ingredients Guide: Mastering Your Kitchen
Alright, friends! whether you’re diving into swiss pastry recipes or just want to whip up some breakfast pastries, knowing your essential ingredients is the foundation of all great cooking.
Today, let’s explore all the goodies you’ll need to create delicious dishes, starting with the premium core components.
Premium Core Components
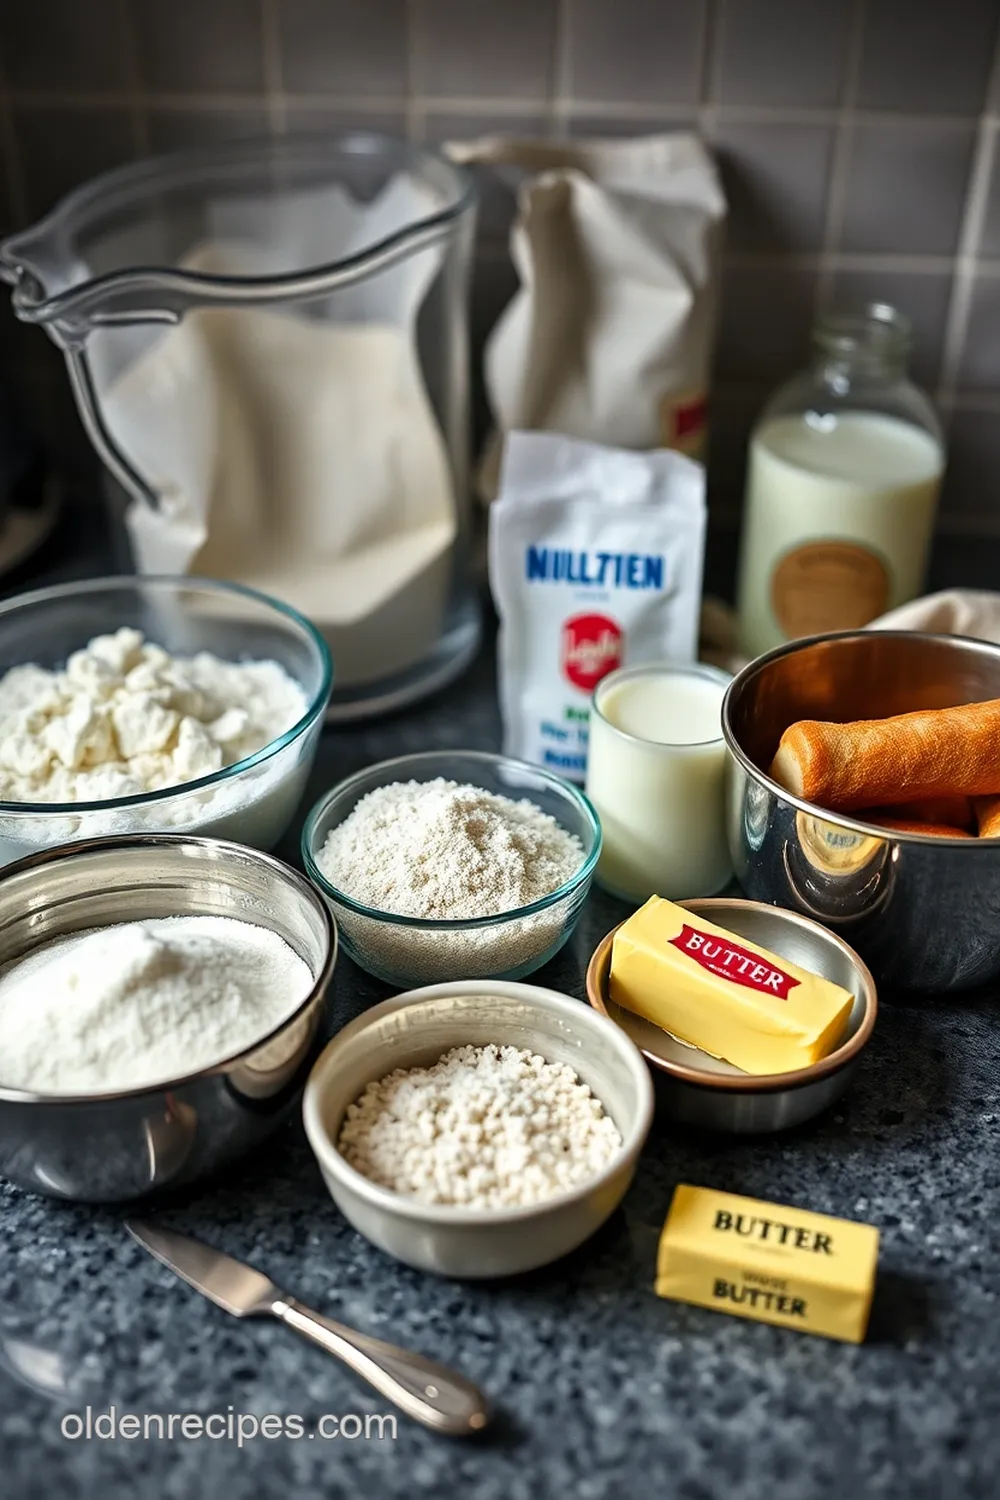
When you’re pulling together a gipfeli recipe , or, let’s be real, any flaky dough recipe , you want to make sure you’ve got quality ingredients on hand. Here’s the rundown:
- Measurements: always best to have a good scale. for the u.s., use cups; but if you wanna get fancy, aim for grams. This ensures precision! for instance, 4 cups of all-purpose flour is about 500g .
- Quality indicators: look for fresh ingredients. flour should smell clean, and yeast should be frothy when activated. check expiration dates and feel the texture of your butter—firm is good, and soft means it might be too warm.
- Storage guidelines: keep your dried herbs and spices away from direct sunlight. they last longer that way! and as for flour, store it in an airtight container for a year if you want maximum freshness.
- Freshness Tips: When selecting produce, go for vibrant colors and firm textures. Avoid any bruising! That’ll ensure you’re working with the best.
Signature Seasoning Blend
Alright, now let’s jazz it up a bit with some signature seasoning blends . Honestly, a good spice combo can elevate your dishes like nothing else:
- Essential Spice Combinations: Think salt, pepper, and garlic powder to start. From there, mix it up! A little paprika can add some depth, or throw in some chili powder for a kick.
- Herb Selections: Fresh or dried, you can’t go wrong with basil and rosemary pairings. They’re great for adding flavor without overpowering your dish.
- Flavor Enhancers: Don’t skip on aromatics! Ingredients like onions, garlic, or even lemon zest can totally transform a dish.
- Regional variations: depending on what you want to whip up, you can switch spices to give your meal a cultural spin. Italian seasoning for pasta or a mexican blend with cumin and coriander for tacos? yes, please!
Smart Substitutions
Life happens, right? So here’s where smart substitutions come in handy:
- Common Alternatives: If you don’t have buttermilk, just add a splash of vinegar to regular milk. Voila—instant buttermilk!
- Dietary Modifications: Need a dairy-free gipfeli? Swap in almond milk for that buttery flavor without the lactose.
- Emergency Replacements: No eggs? You can use a flaxseed meal or chia seeds mixed with water!
- Seasonal Options: Use fresh seasonal fruits or vegetables! Strawberries in spring, but wait until autumn for those sweet pumpkins.
Kitchen Equipment Essentials
Now, let’s talk tools. If you’re gonna get into any serious baking, you need the right stuff lined up:
- Must-Have Tools: A good rolling pin is key for your layered dough techniques . A pastry brush helps with egg washes, which is all about that glorious glaze!
- Alternative Equipment: No stand mixer? Grab a whisk and mix by hand—the workout is worth it!
- Preparation Tips: Always preheat your oven before starting unless you want to wait forever for your pastries. And keep your workspace tidy—it helps the flow!
- Storage Solutions: Invest in some quality airtight containers. You want to keep your flours and ingredients fresh and organized.
And there you have it! with these essential ingredients and tips, you’re well on your way to whipping up delightful breakfasts like homemade gipfeli or those flaky pastries we all adore.
Remember, cooking should be fun—the more you experiment, the more you’ll learn what works for you.
Ready to dive into the instructions for that delightful gipfeli recipe ? Let’s roll up our sleeves and get baking! It’s time to bring those Swiss baking traditions to your kitchen.
Perfecting the Art of Professional Cooking
When it comes to whipping up delicious eats, knowing the ropes of professional cooking methods can totally elevate your home kitchen game.
Let’s dive into some essential preparation steps, step-by-step processes, expert techniques, and success strategies that can lead you to culinary greatness.
Essential Preparation Steps
Ah, mise en place —the art of having everything in its place! before you start cooking, get all your ingredients prepped and organized.
Measure out your flour (oh hey, 4 cups of all-purpose flour ), butter, sugar, and milk well ahead of time.
Trust me, this makes everything smoother. it’s like having your ducks in a row before a big show.
Time management is key! set your timer—like for *30 minutes * to let your shaped gipfeli proof (yep, we’ll get to those delicious swiss pastries soon).
Organize your kitchen so you can grab all your tools without a second thought—mixing bowls, rolling pin, and baking sheet should all be right there, easy to access.
Safety considerations? always keep those things in mind. wash your hands often, keep raw ingredients like eggs and meats separate, and make sure to stay mindful of sharp knives.
No one wants a pizza cut by an emergency room visit!
Step-by-Step Process
Alright, time to get serious. Follow these clear, numbered instructions for making that jaw-dropping gipfeli recipe:
- Activate the yeast. Mix 1 ½ cups of warm milk with your active dry yeast and let it sit for 5- 10 * minutes * until it gets frothy.
- Dough time! Combine your flour, salt, and sugar in a bowl. Add in that frothy yeast mixture and your ½ cup melted butter . Mix until a dough forms. Easy peasy!
- Knead the dough. Go for about *5 minutes * on a floured surface until it’s smooth and nice.
- Chill it! Wrap up your dough and pop it in the fridge for 1 hour . Patience, my friend.
- Butter block! Pound that cold butter into a rectangle (about ½ inch thick ) between two parchment sheets. This is where the magic starts!
- Time for lamination! Roll out that chilled dough, place the butter block in the center, then fold it over and roll it out again. Do this folding process two more times —it’ll create those glorious layers.
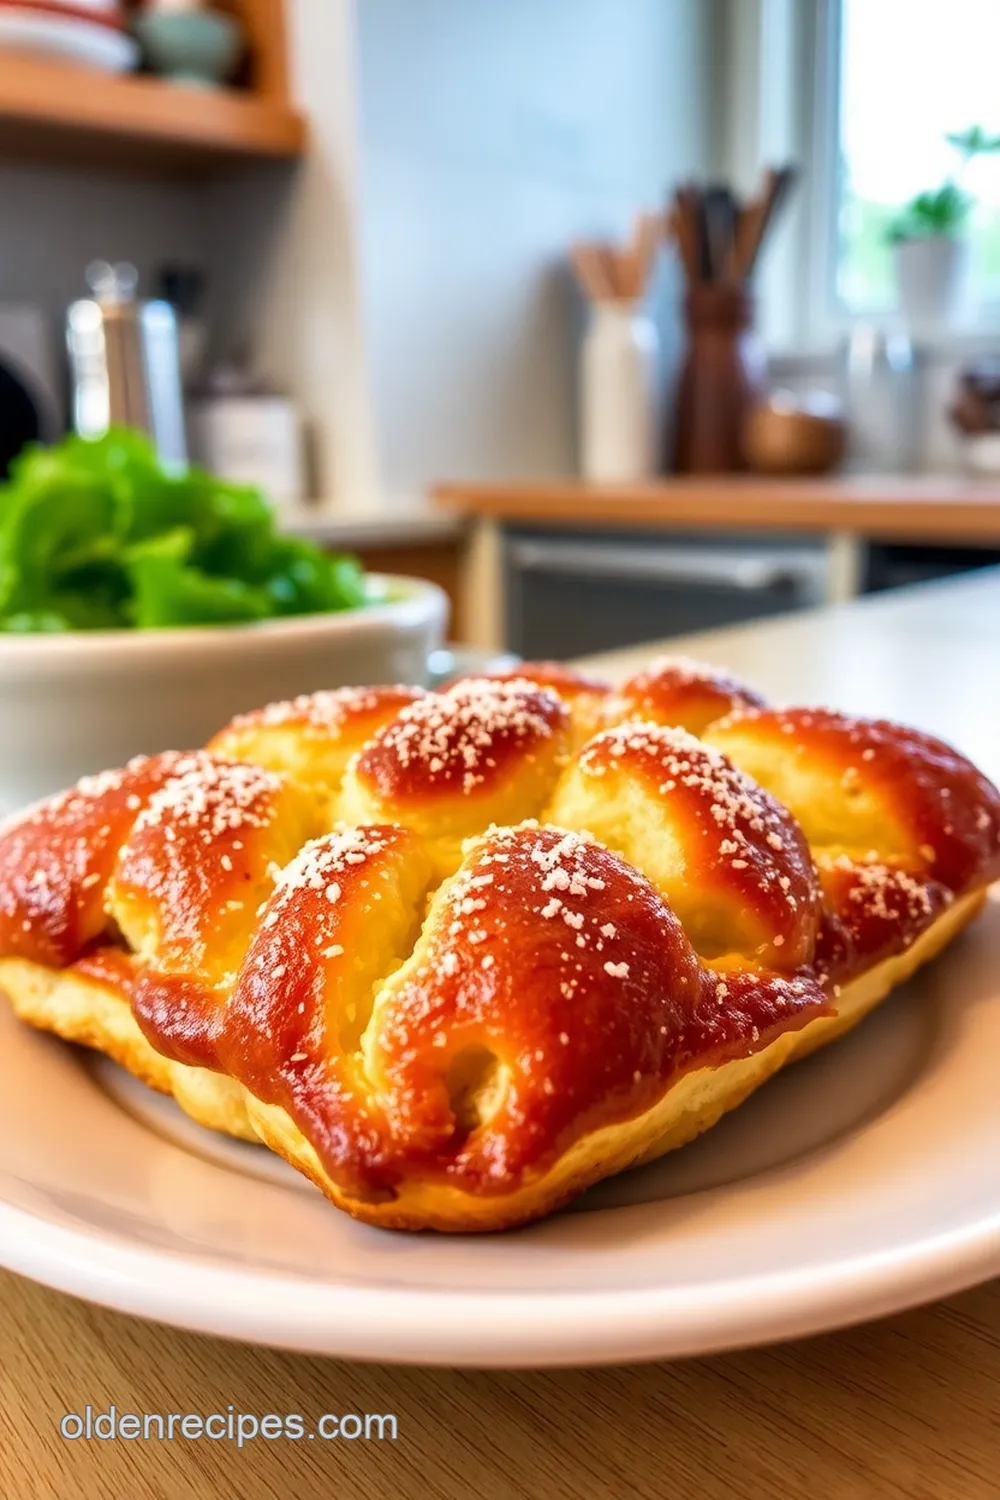
- Shape the gipfeli! Roll out the final dough, cut into triangles, and roll from the base to the tip to form crescents.
- Proof those pastries. Let them rise for about *30 minutes *.
- Preheat that oven! Get it to ****400° F ( 200° C) .
- Egg wash and bake! Brush with egg wash, bake for 15- 20 * minutes * until golden brown.
Expert Techniques
Every chef has a few tricks up their sleeve. be attentive during baking—look for that golden hue and puffiness; that’s your cue to rejoice.
Temperature control is crucial. if ever in doubt, use a thermometer—your gipfeli should be at least ****190° f ( 88° c) at the center when baked through.
Check for quality by tasting as you go! One important troubleshooting tip? If your dough isn’t coming together, don’t panic. Just add a little warm milk, mix, and knead again.
Success Strategies
Don’t be ashamed of mistakes. we all have our baking flops! yikes, like the time i forgot to account for chilling my dough—total disaster! so, to avoid common hiccups, remember to stick those flaky pastry tips into your brain and take your time.
Quality assurance? check that dough consistency.
Looking to do some make-ahead magic? You can prep your gipfeli dough and freeze it! They’ll be ready to bake whenever you fancy a taste of those sweet and savory pastries .
Now that you’ve got a full-on guide to making those buttery, layer-infused gipfeli, it’s time to roll up your sleeves and dive in! trust me, once you nail these, your brunch game will never be the same.
Stay tuned for additional information on more scrumptious Swiss pastry recipes, baking with yeast, and maybe some delightful pairing ideas for your morning coffee!
Pro Tips & Secrets
When it comes to baking gipfeli , mastering a few pro tips can truly elevate your game. first, let’s chat about that lamination process .
The layers are key to getting that dreamy, flaky pastry texture. don’t rush it! when rolling out your dough, take your time to keep everything cold—this helps maintain those precious layers.
Then, you gotta nail the egg wash technique; an even layer gives your pastries that golden-brown exterior that will have your friends saying “wow!”
Now, here’s a time-saver: while your dough is chilling, prep your coffee or tea. seriously, nothing beats the aroma of freshly baked pastries paired with a comforting morning brew.
And if you want to kick it up a notch flavor-wise, sprinkle a pinch of cinnamon or nutmeg on that rolled-out dough before shaping your gipfeli.
Trust me, your taste buds will thank you!
Perfect Presentation
Plating your gipfeli beautifully can make you look like a seasoned pro. i mean, if we’re being honest, we eat with our eyes first, right? start by placing your pastries on a nice platter.
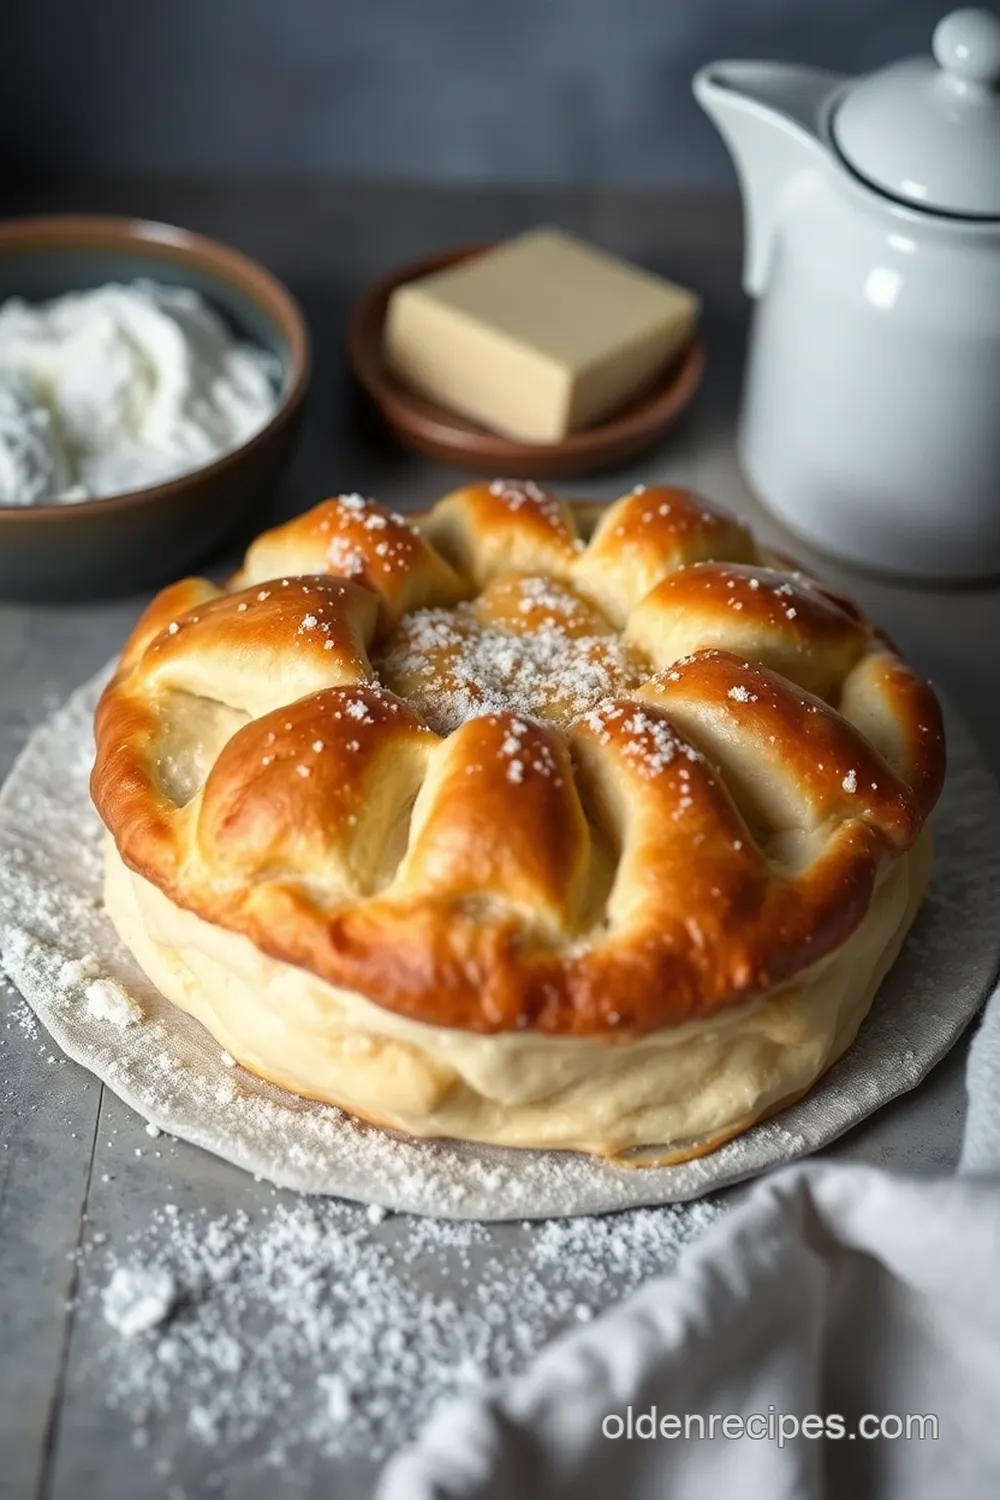
A simple, rustic wooden board can do wonders. to really dazzle, sprinkle some powdered sugar over the tops for that fancy touch.
Garnish ideas? freshly-picked herbs like rosemary or even a few edible flowers can add that wow factor. think about your color combinations too.
Golden-brown gipfeli alongside bright, mixed fruit or a dark, rich chocolate drizzle—talk about a feast for the eyes!
Storage & Make-Ahead
Got leftovers? no problem! you can store your gipfeli in an airtight container at room temperature for about 2-3 days .
But if you want to keep them longer (like a smart cookie), pop them in the fridge for up to a week.
To reheat , just place them in a toaster oven for a few minutes at 350° f ( 175° c) to get that crispy goodness back.
For those busy mornings, consider making them ahead of time. just shape and proof your gipfeli, then stick them in the freezer.
When you’re ready to enjoy, you can let them thaw for about an hour and then pop them right in the oven—baking fresh breakfast pastries without the hassle.
Creative Variations
Let’s talk creative variations ! there are endless ways to customize your gipfeli. feeling adventurous? add a layer of chocolate or almond paste inside before rolling them up.
Or if you’re going for something savory, incorporate herbs or cheese. seasonal twists? in the fall, substitute some of the classic flavors with pumpkin spice or even maple syrup for a cozy vibe.
And if you’re curious about regional variations, i once had an amazing austrian kipferl that was filled with nuts instead of the classic layers of butter.
Oh man, that was a game changer!
Complete Nutrition Guide
Now, let’s get down to business with a complete nutrition guide for your homemade gipfeli . each pastry comes in at around 220 calories—so, not too shabby for a breakfast treat! they provide a fair amount of carbs, which is perfect for kickstarting your day.
Just a reminder, though, if you’re watching your grams of fat or carbs, feel free to adjust your ingredients.
You can also get creative here! Add some nuts for extra protein, or swap in whole wheat flour for a more nutritious take. They’re versatile, like many Swiss pastry recipes .
Expert FAQ Solutions
Got questions? i got answers! one common issue i hear is about dough rising—if your dough isn’t rising well, check if your yeast is still active.
Fresh yeast is crucial for fluffy gipfeli. another question i often get is about flavor variations—what if you want something a bit different? you can totally substitute the butter for coconut oil for a vegan take or add spices for an aromatic twist.
Final Thoughts
Baking your own gipfeli isn’t just about the food; it’s about that satisfying feeling when you take that first flaky bite and beam with pride.
So don’t sweat the small stuff! remember, this is your kitchen, and it’s all about having fun. enjoy the process, get creative, and soon, you’ll find that perfect way to serve up a piece of switzerland right at home.
- Swiss Community Cultural Heritage
https://www.swisscommunity.org/en/ - European Food Information Council (Traditional Baking)
https://www.eufic.org/en/
Happy baking, my friends!

Flaky Swiss Gipfeli: A Delightful Croissant-Inspired Pastry
Ingredients
- 4 cups all-purpose flour 500g
- 1 teaspoon salt 5g
- 2 tablespoons granulated sugar 25g
- 1 packet active dry yeast 2 ¼ teaspoons or 7g
- 1 ½ cups whole milk warmed (360ml)
- ½ cup unsalted butter melted (115g)
- 1 cup unsalted butter cold (225g), in a block
- 1 large egg for brushing
Instructions
- Mix warm milk and yeast in a bowl; let it sit until frothy (about 5-10 minutes).
- In a large bowl, combine flour, salt, and sugar.
- Add the frothy yeast mixture and melted butter; mix until a dough forms.
- Knead on a floured surface for about 5 minutes until smooth.
- Wrap the dough in plastic wrap; refrigerate for 1 hour.
- Place cold butter between two sheets of parchment paper; pound and roll it into a rectangle (about ½ inch thick).
- Roll out the chilled dough; place the butter block in the center and fold dough over it.
- Roll out and fold into thirds; refrigerate for 30 minutes. Repeat the rolling and folding process two more times.
- Roll out the final dough, cut into triangles, and roll from the base to the tip to form crescents.
- Place the shaped gipfeli on a baking sheet; cover and let rise for about 30 minutes.
- Preheat oven to 400°F (200°C).
- Brush with beaten egg; bake for 15-20 minutes until golden brown.